Moment of truth
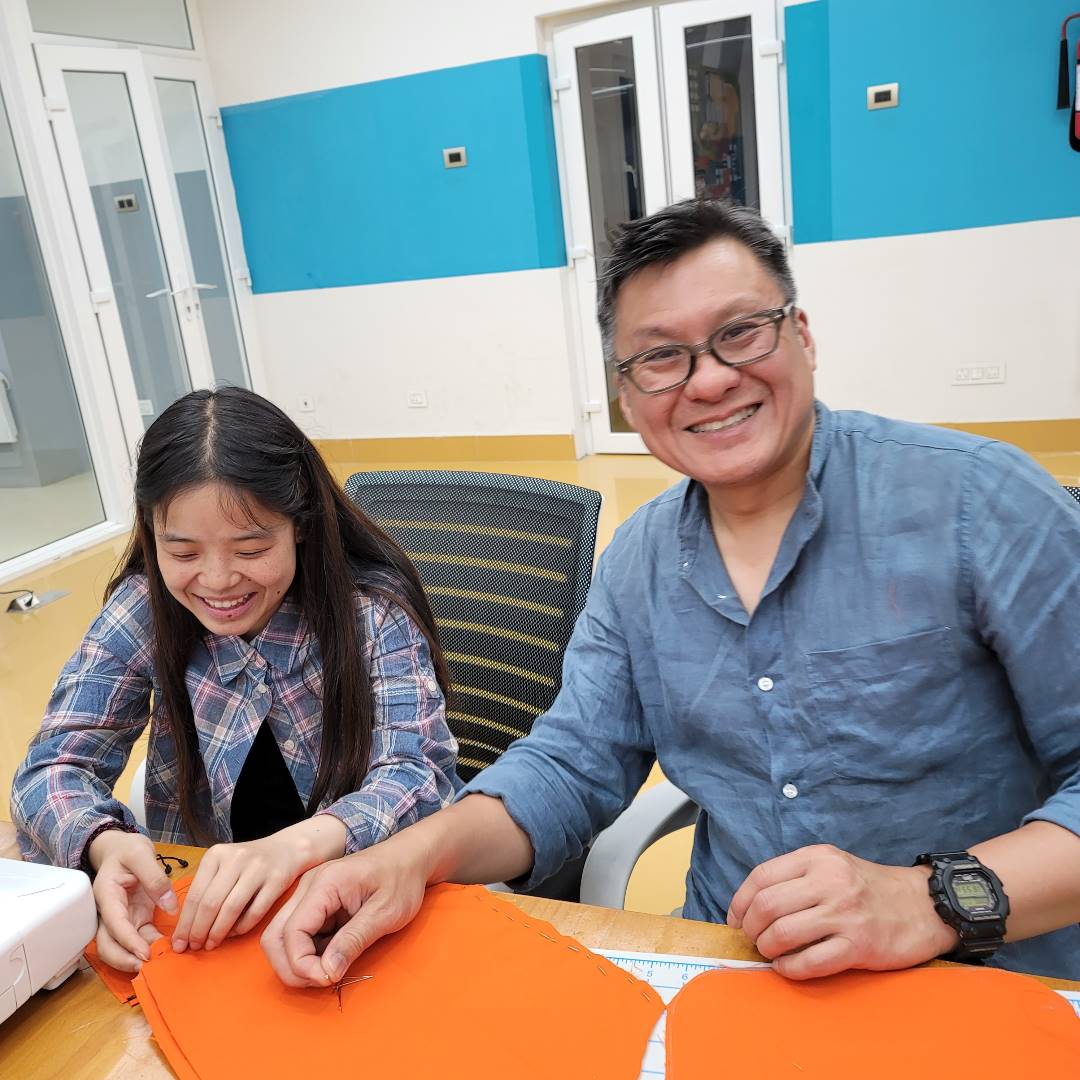
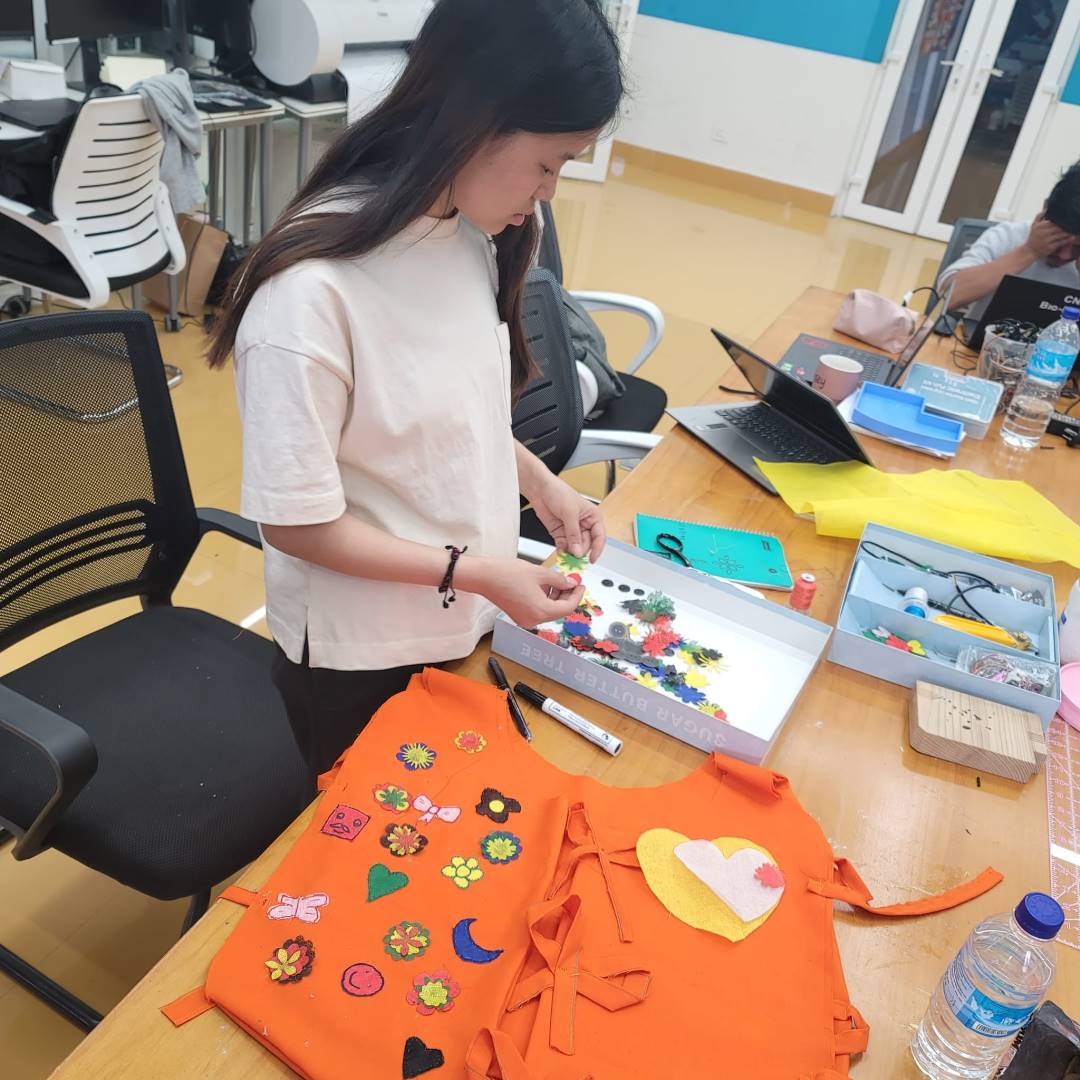
I was done with physical fabrication. After lots of procrastination for physical fabrication I was finally done with physical fabrication. This was the first time for me to do stitching using sewing machine. planning how to sew before doing on the fabric, after practising for few minutes it was very interesting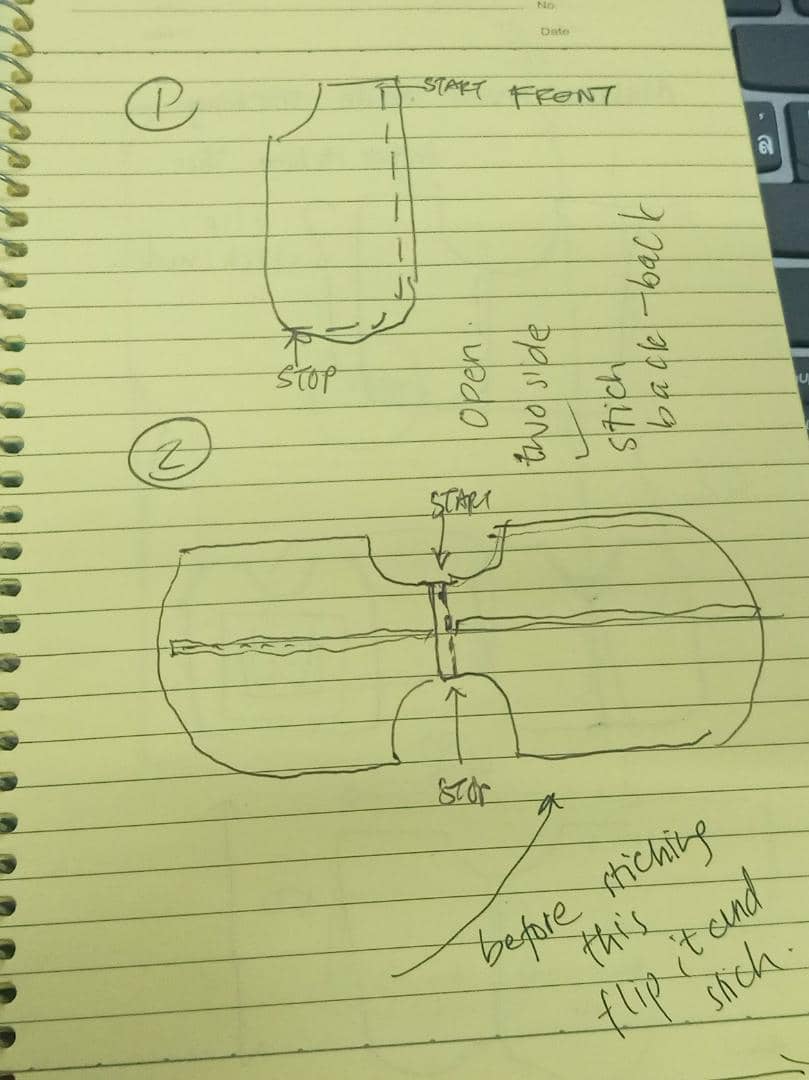
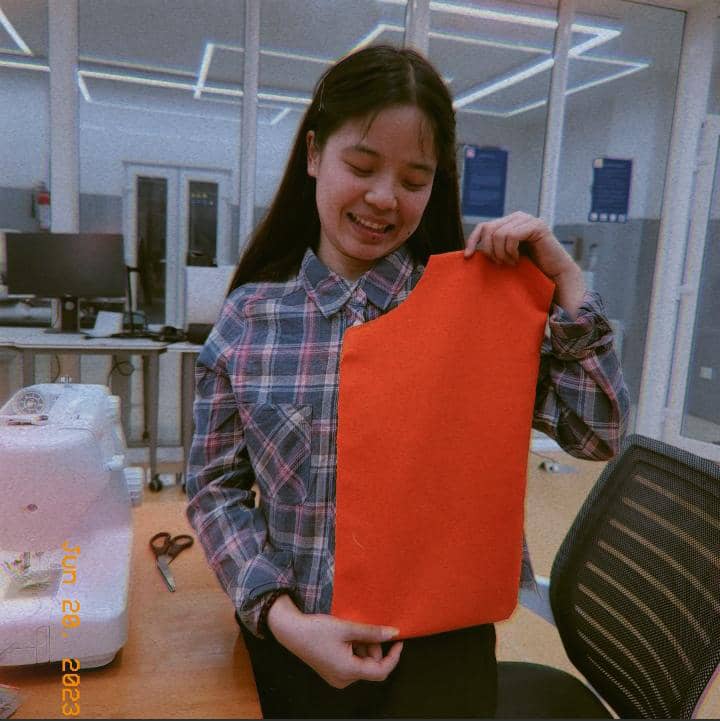
This was the my first time sewing practice and then after done with sewing i decorated the vest with the flower patterns on it.
This was while stitching the heating pads (The white foam is a re-used packaging foam that you can get easily)
2D Design for my project(Inkscape).
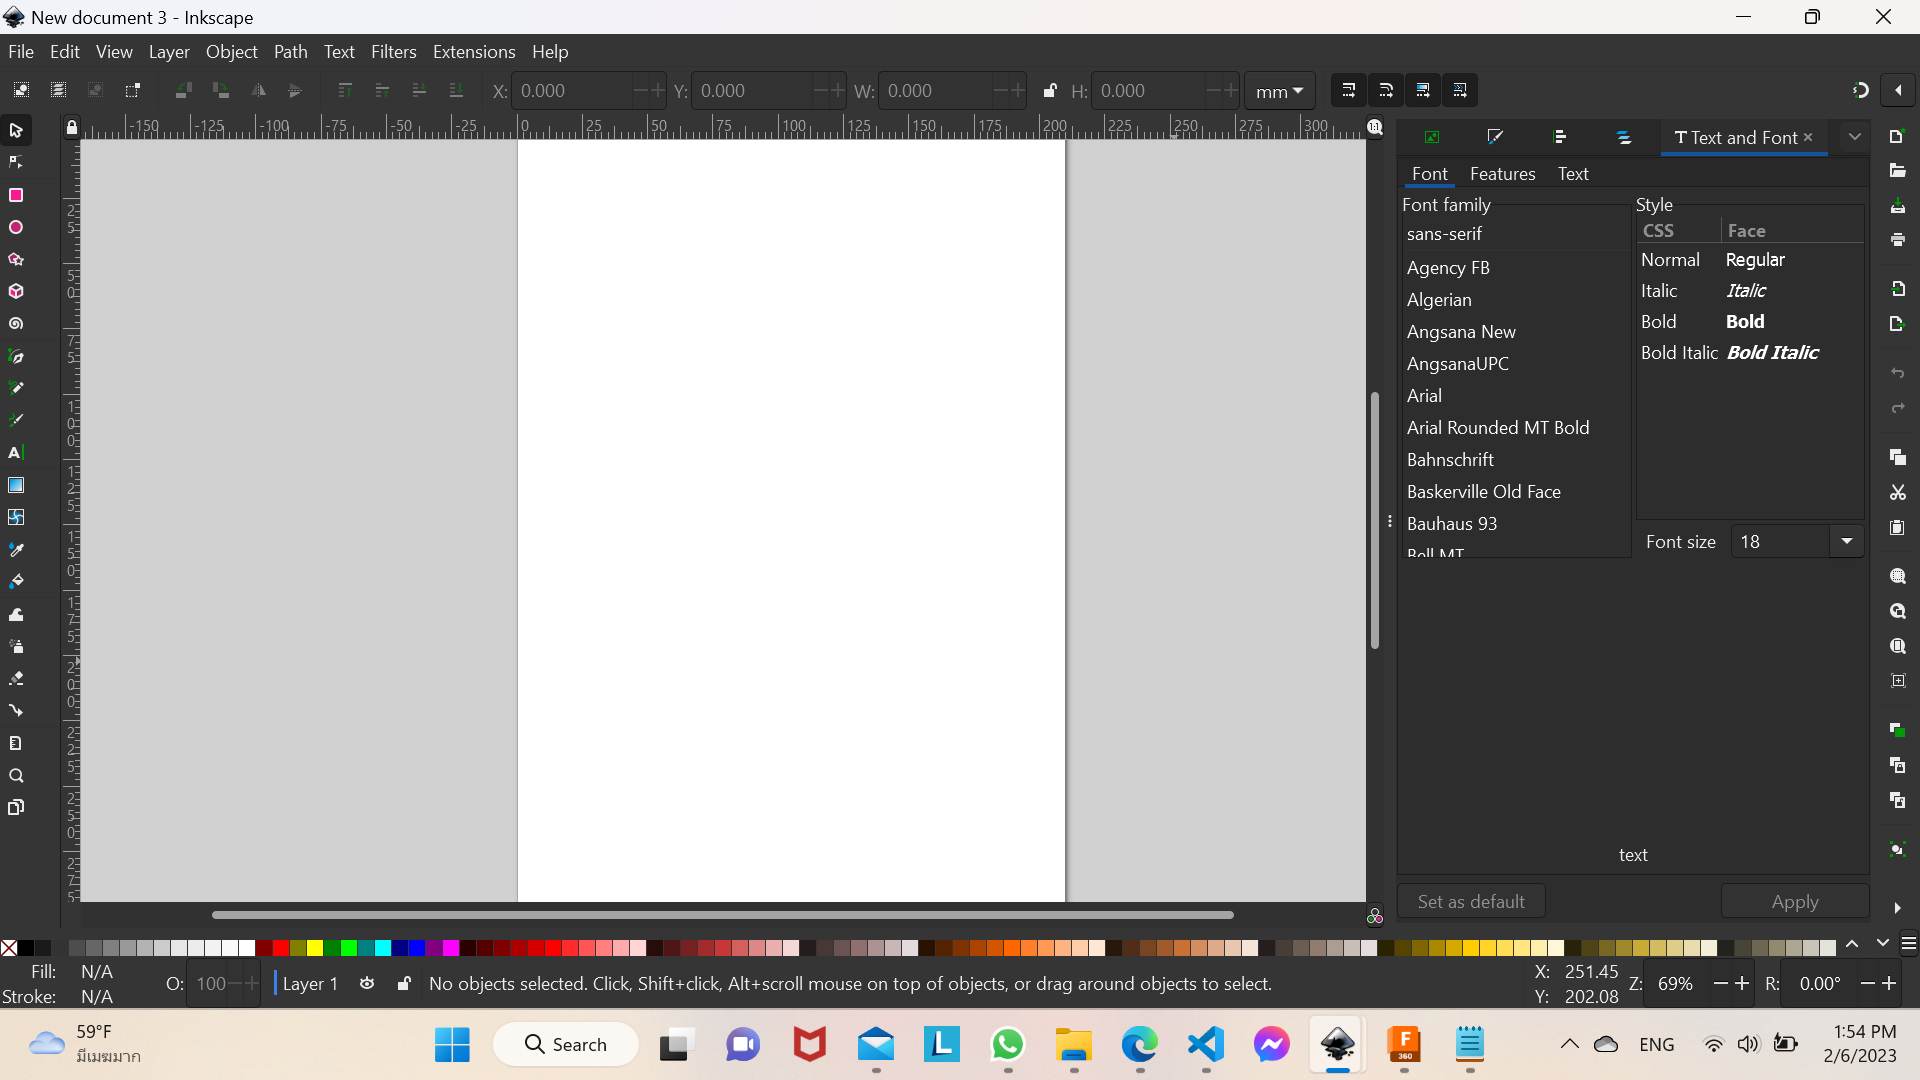
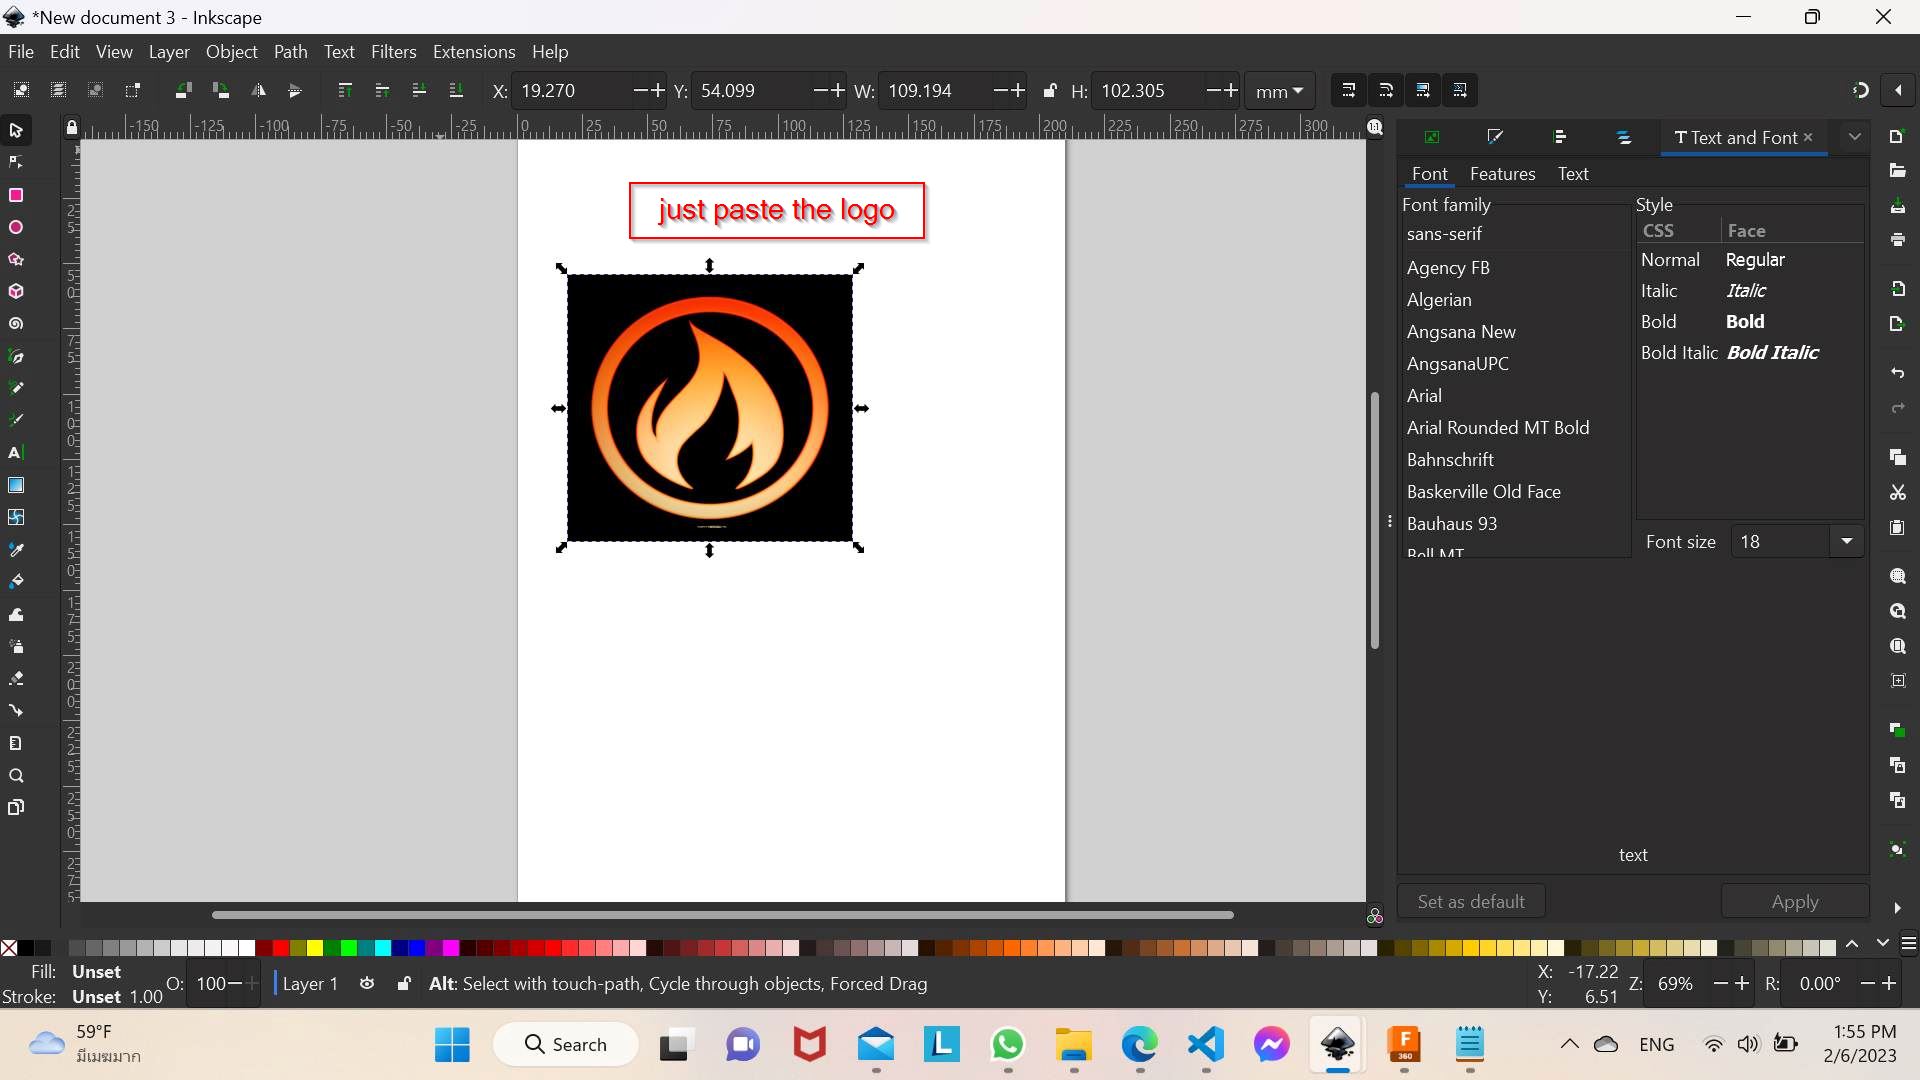
• For my 2D design i used inkscape. a simple logo indeed so here is my work,first open inkscape in your desktop.for the logo just go to google
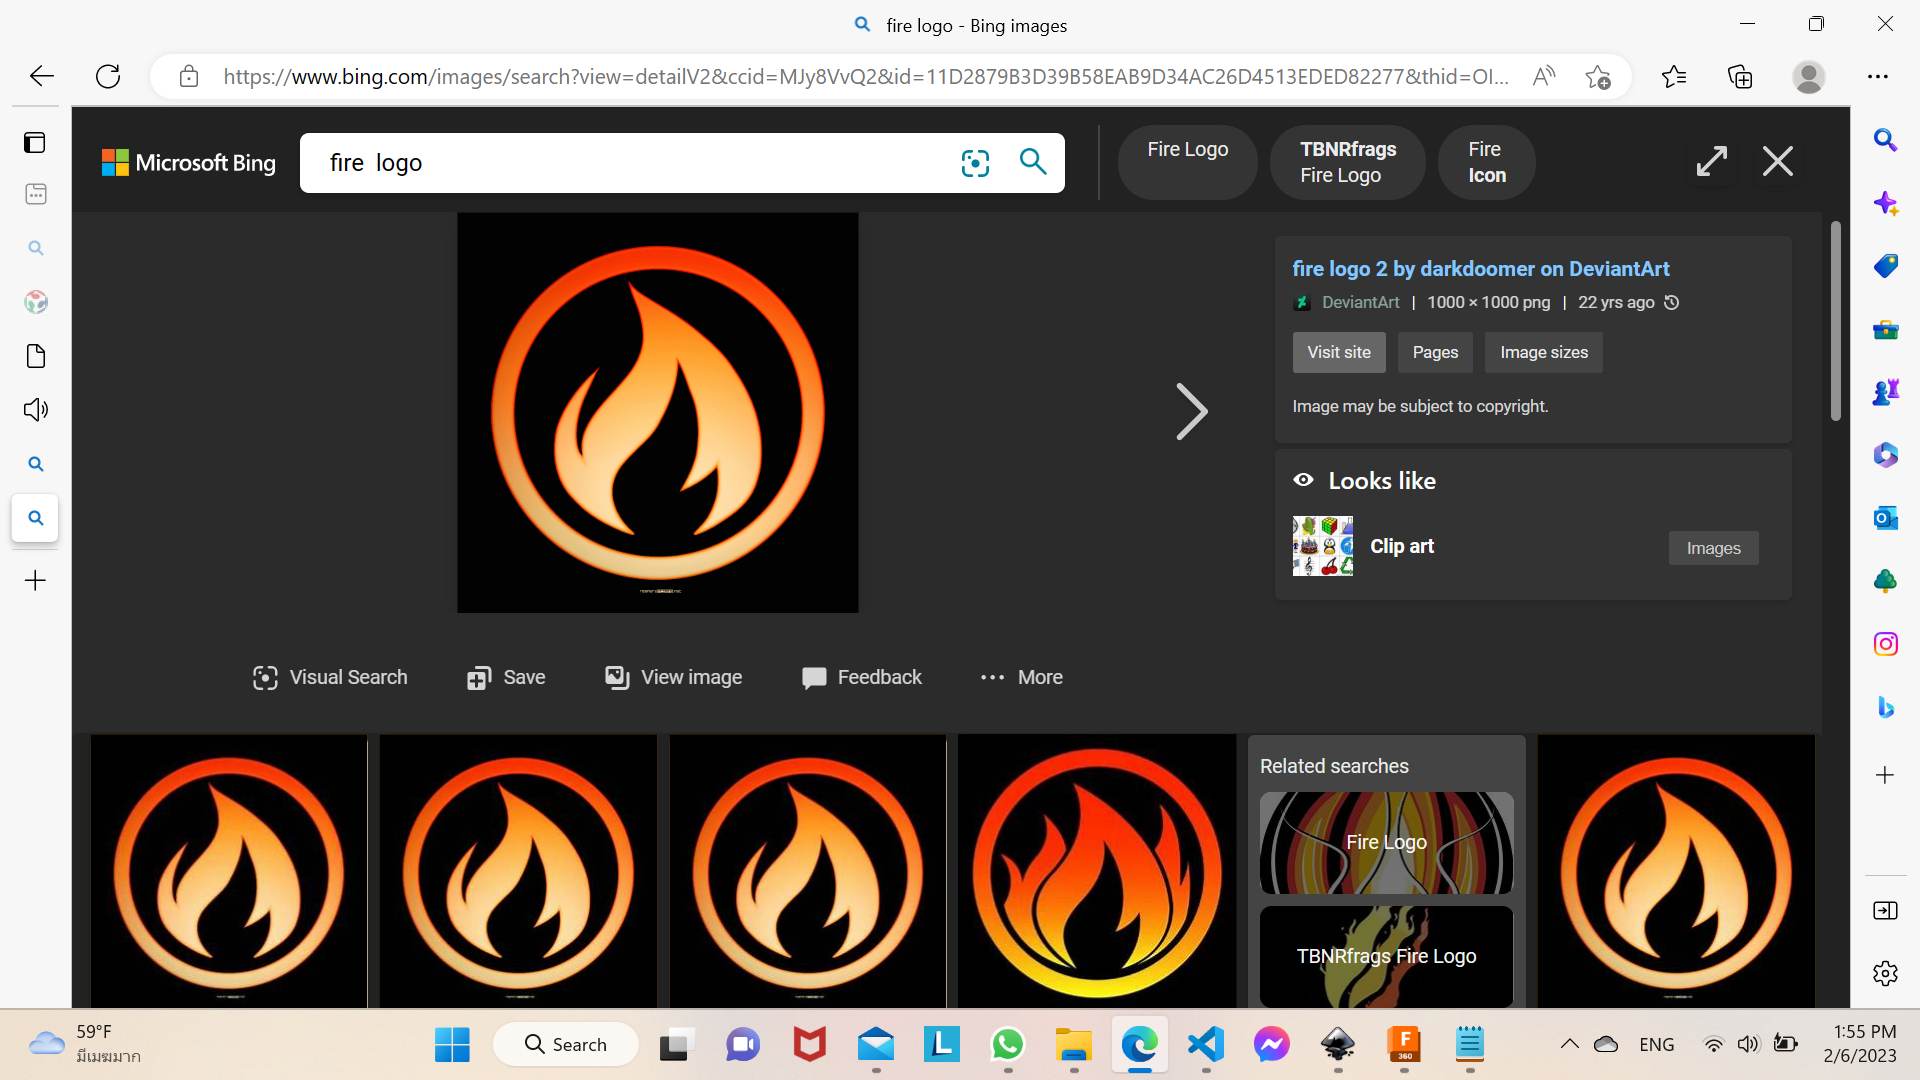
For my project i just googled the fire or heat logo and copy pasted on inkscape.The image source from google is below.
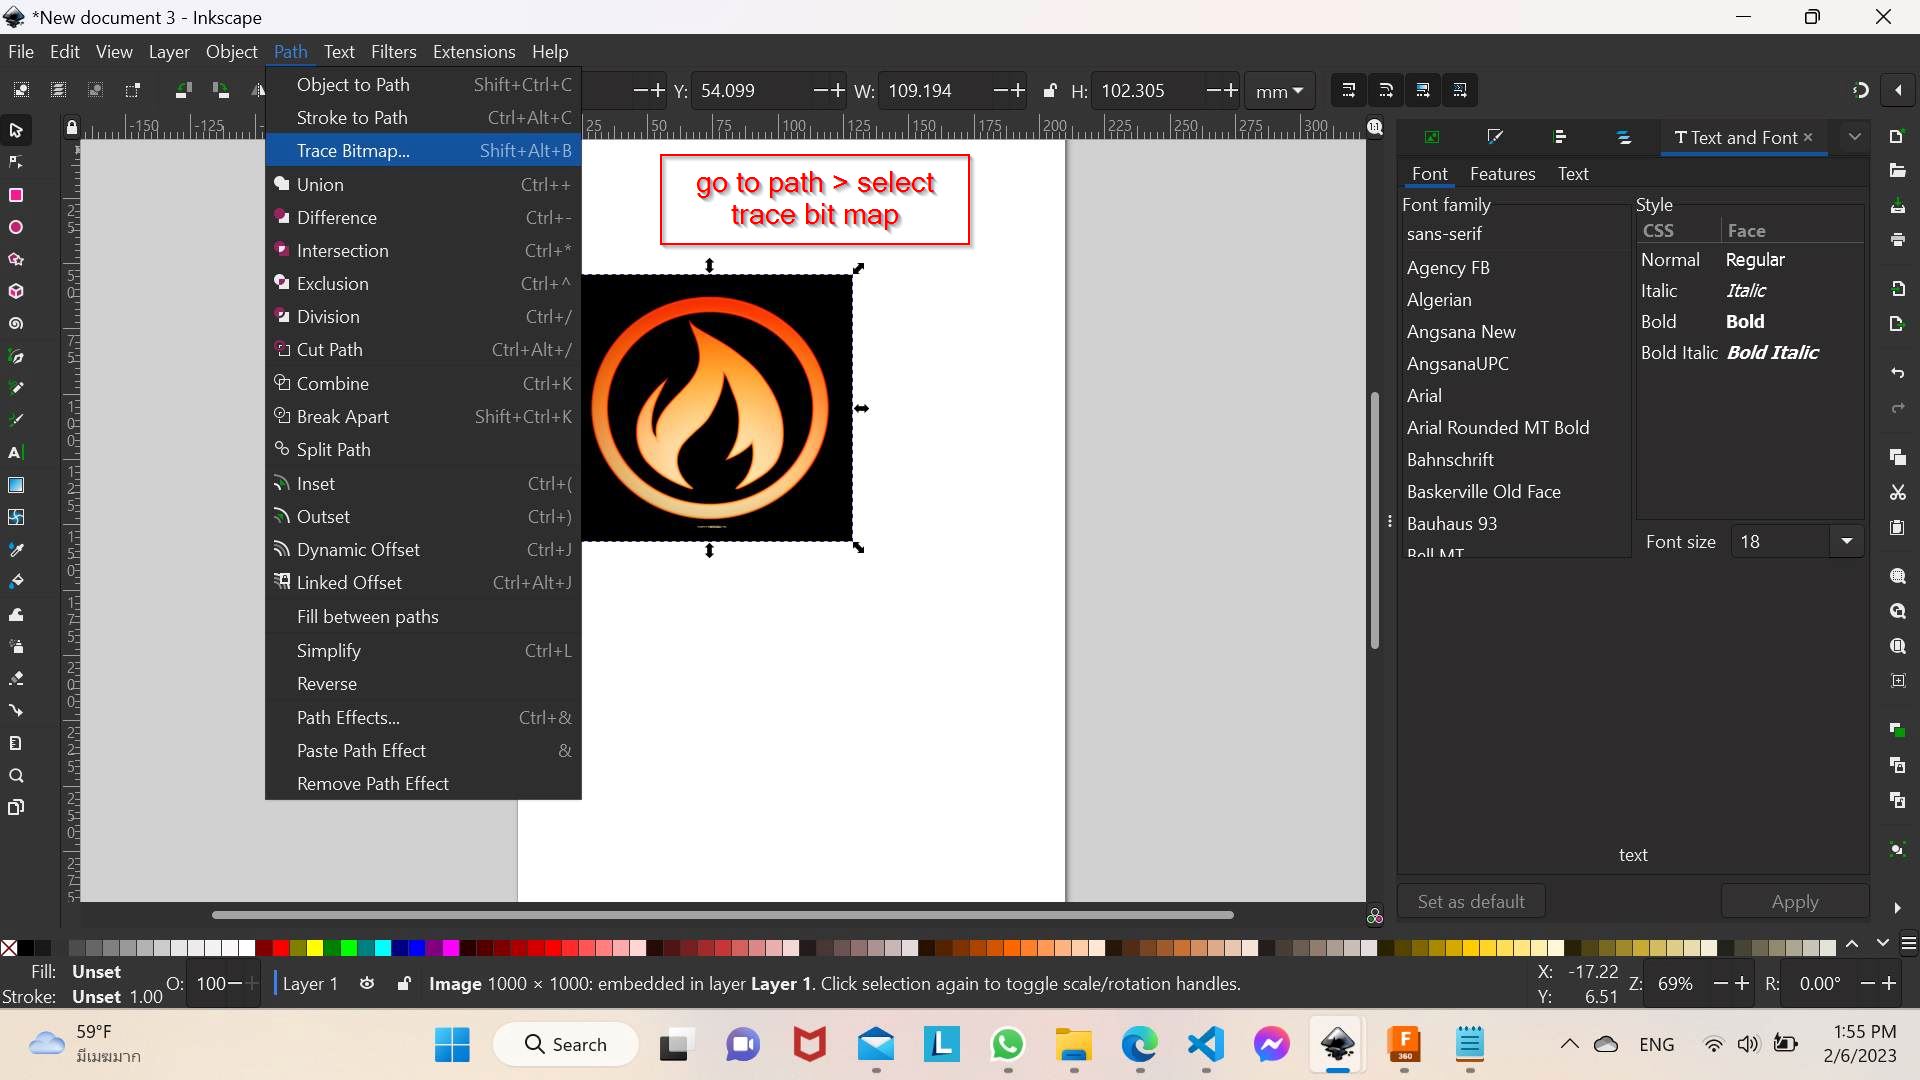
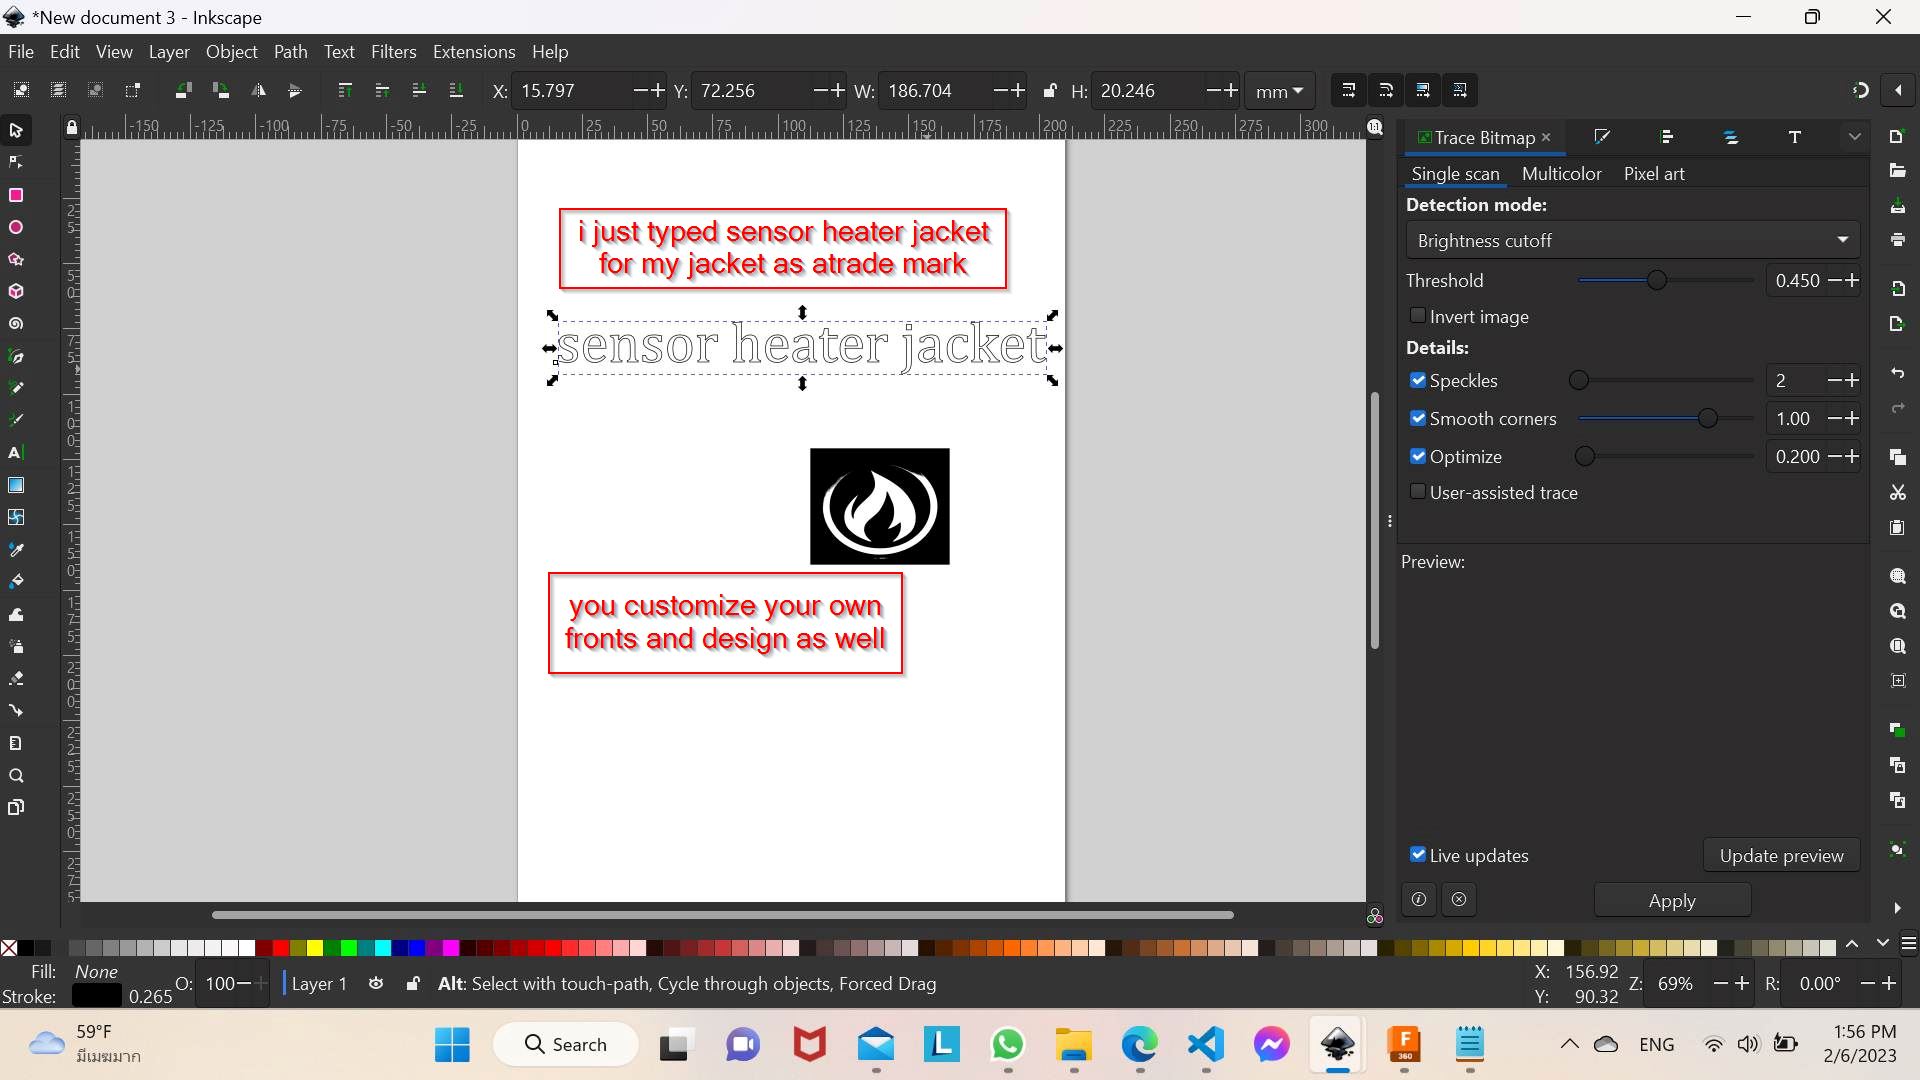
and pasted here on inkscape as you can see below. Now go to path and click on the drop down
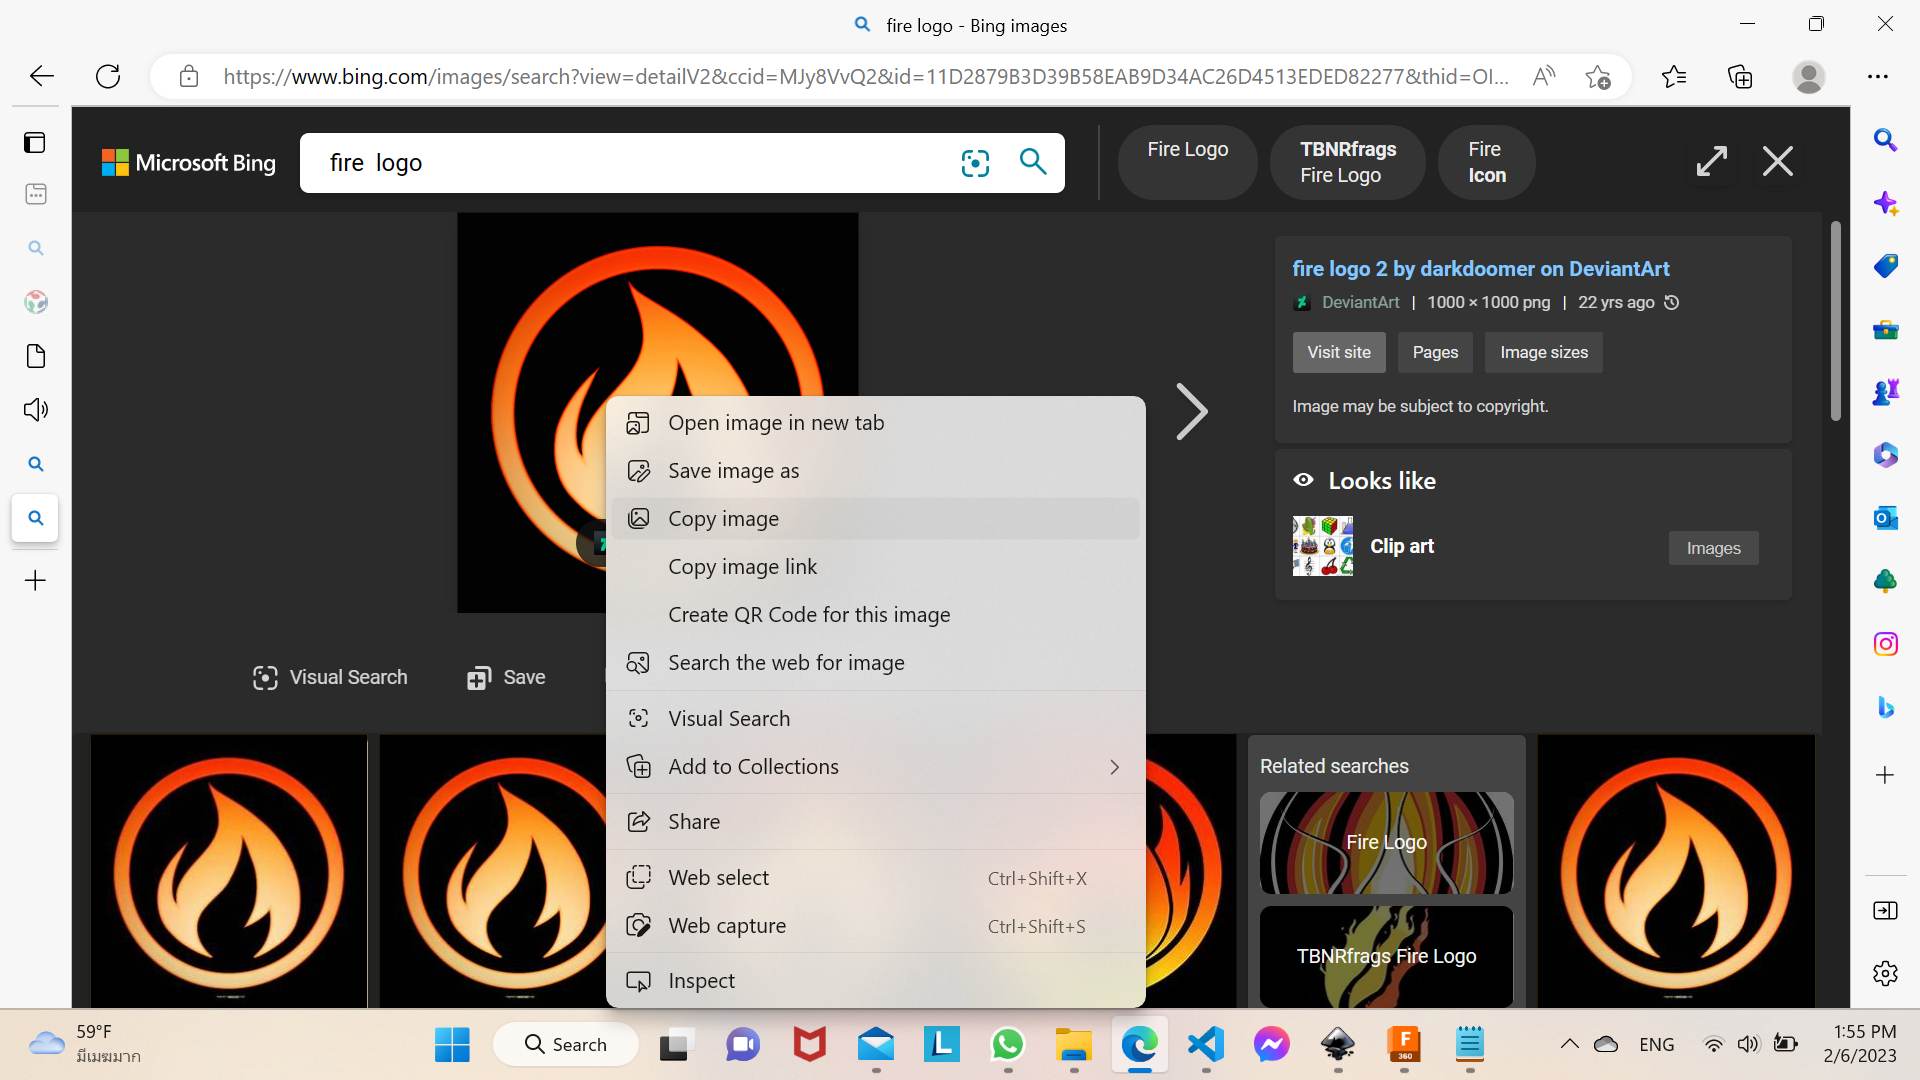
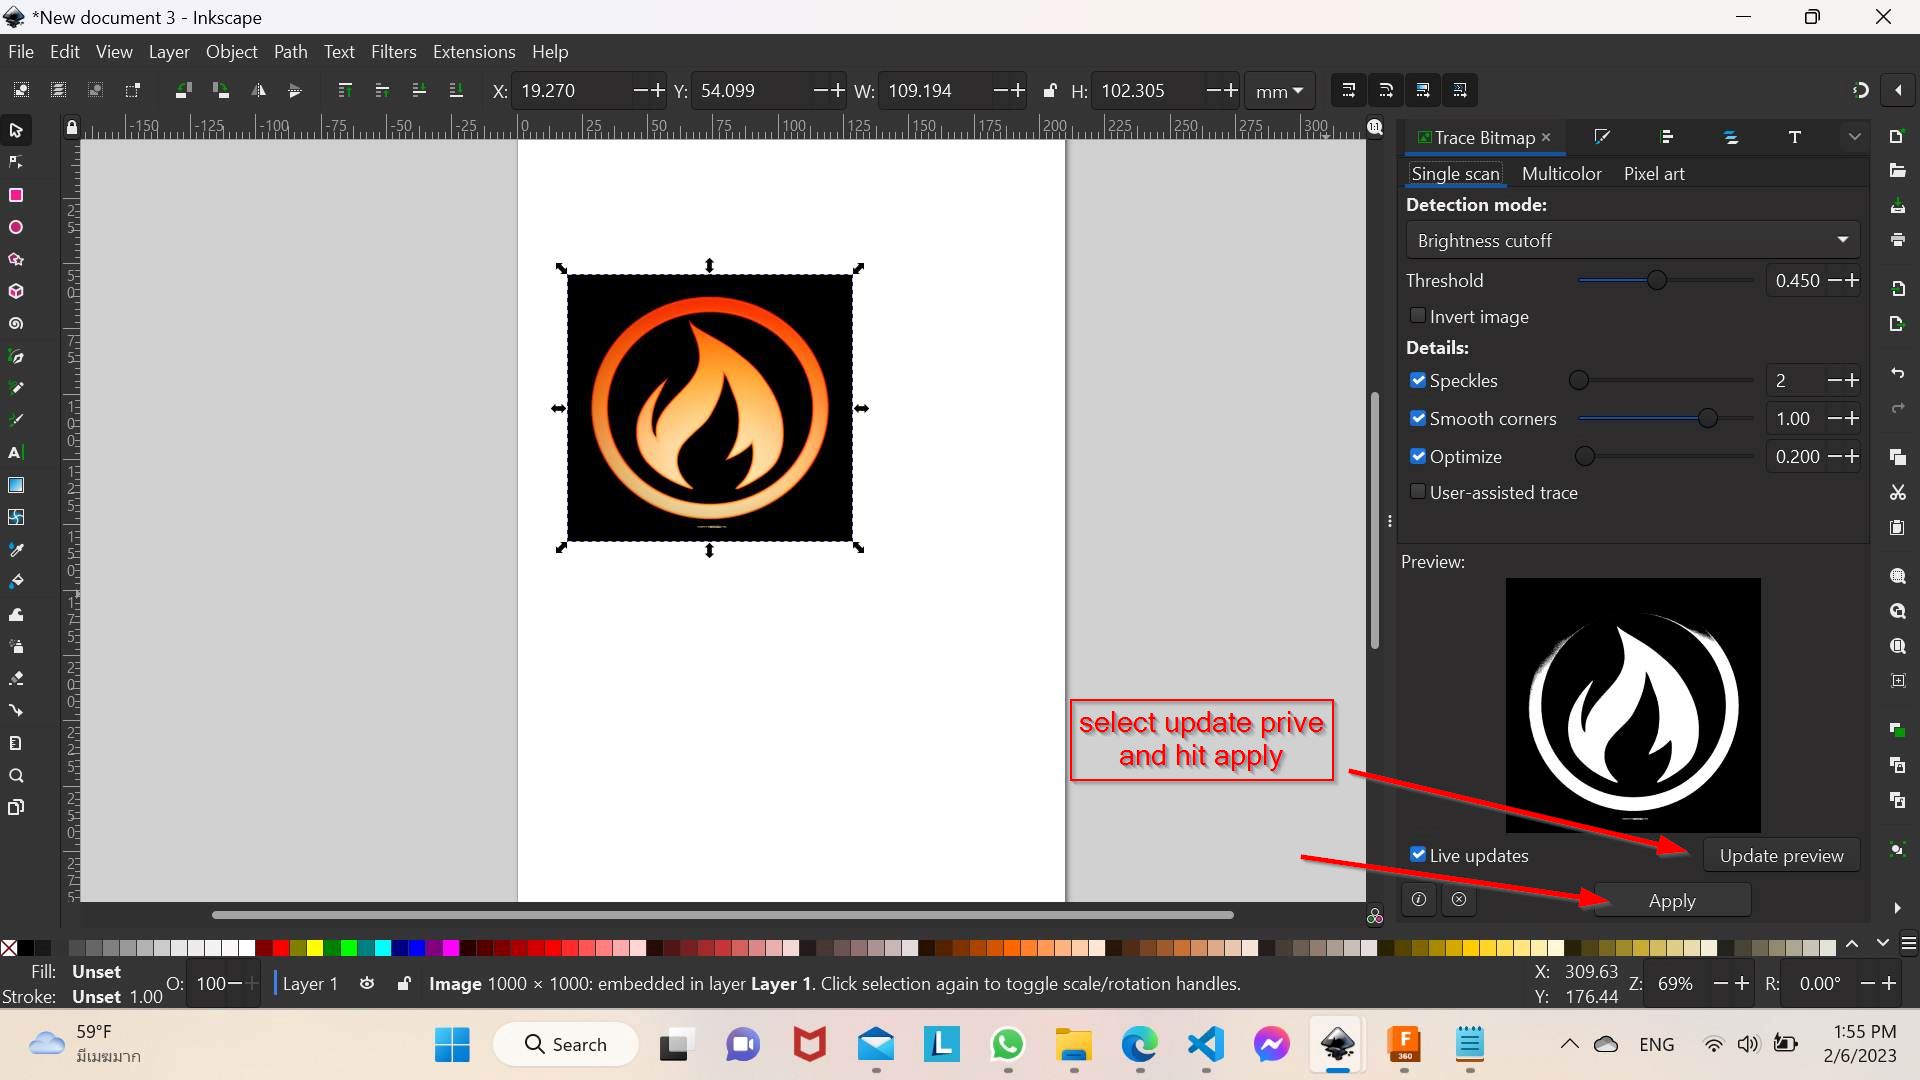
so you can now click on trace bitmap.So on the right side you can see the preview and just click on apply which is on the right bottom.
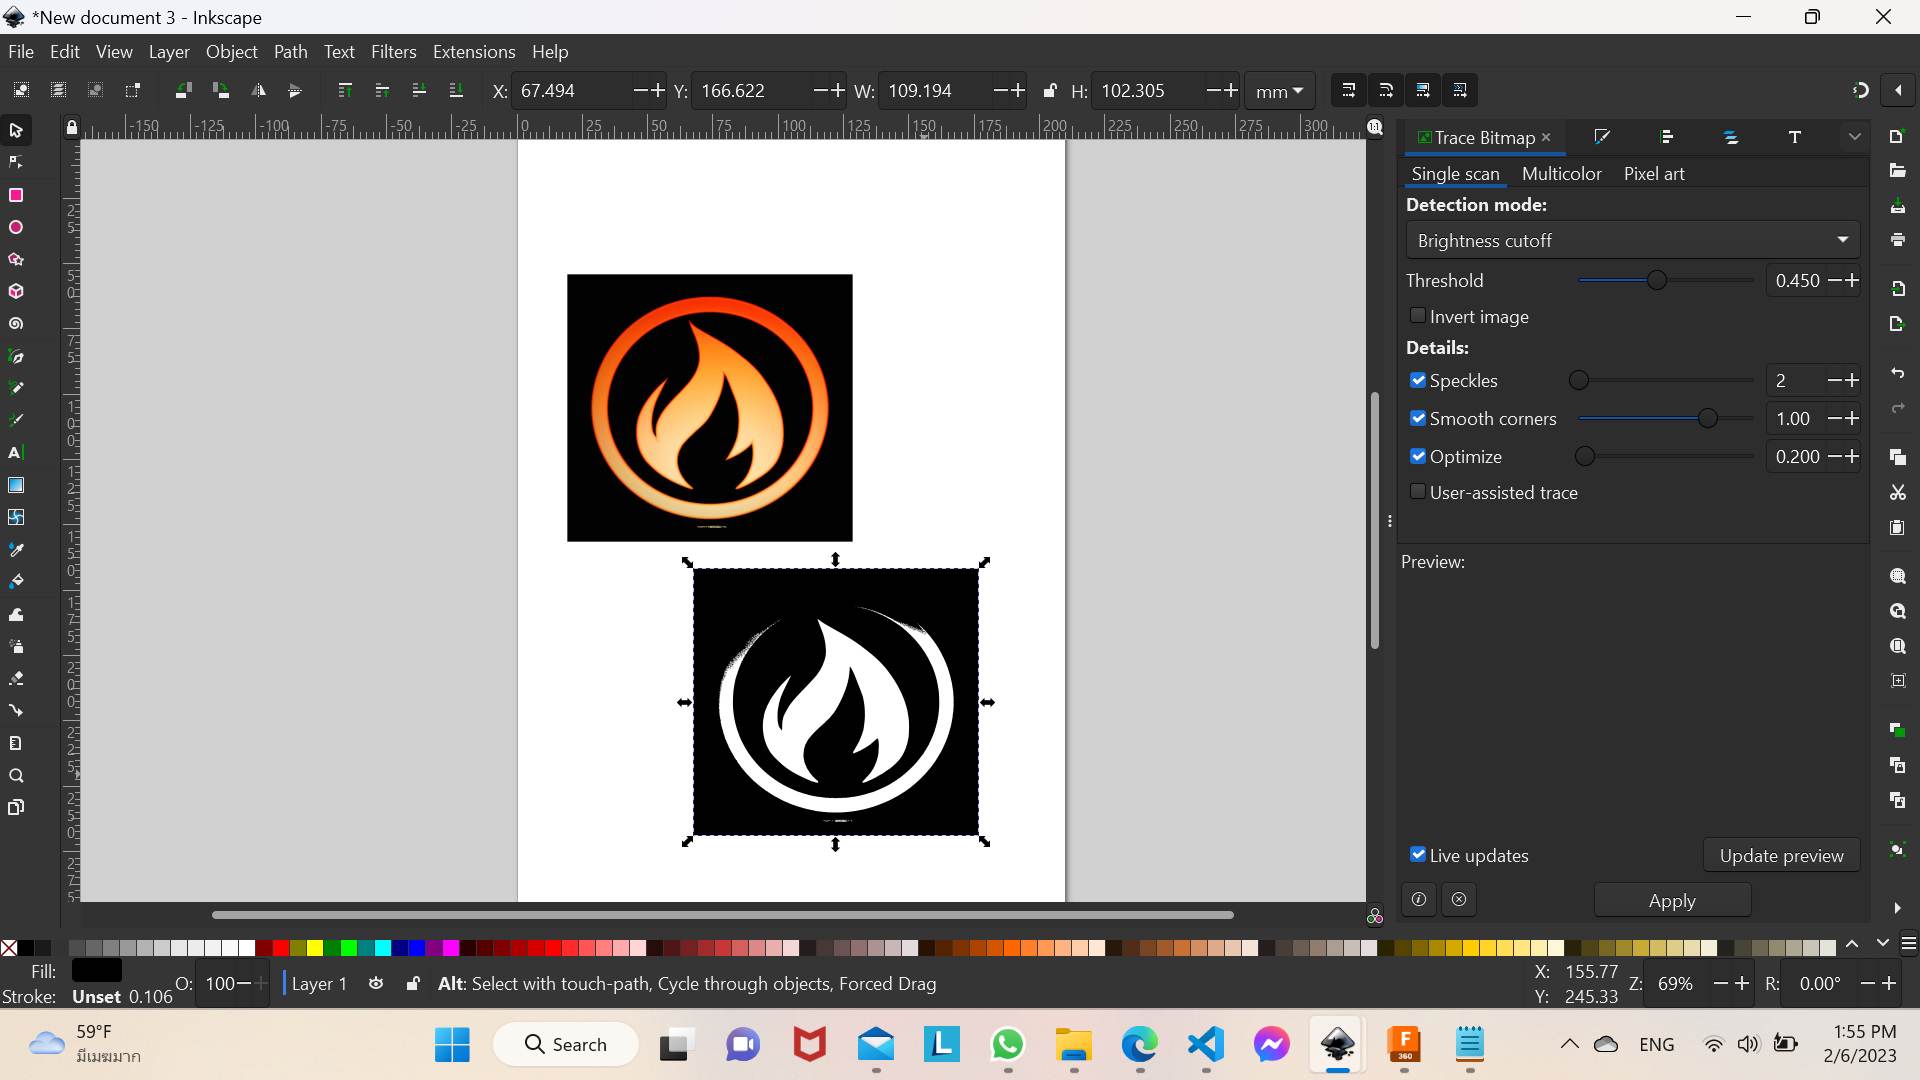
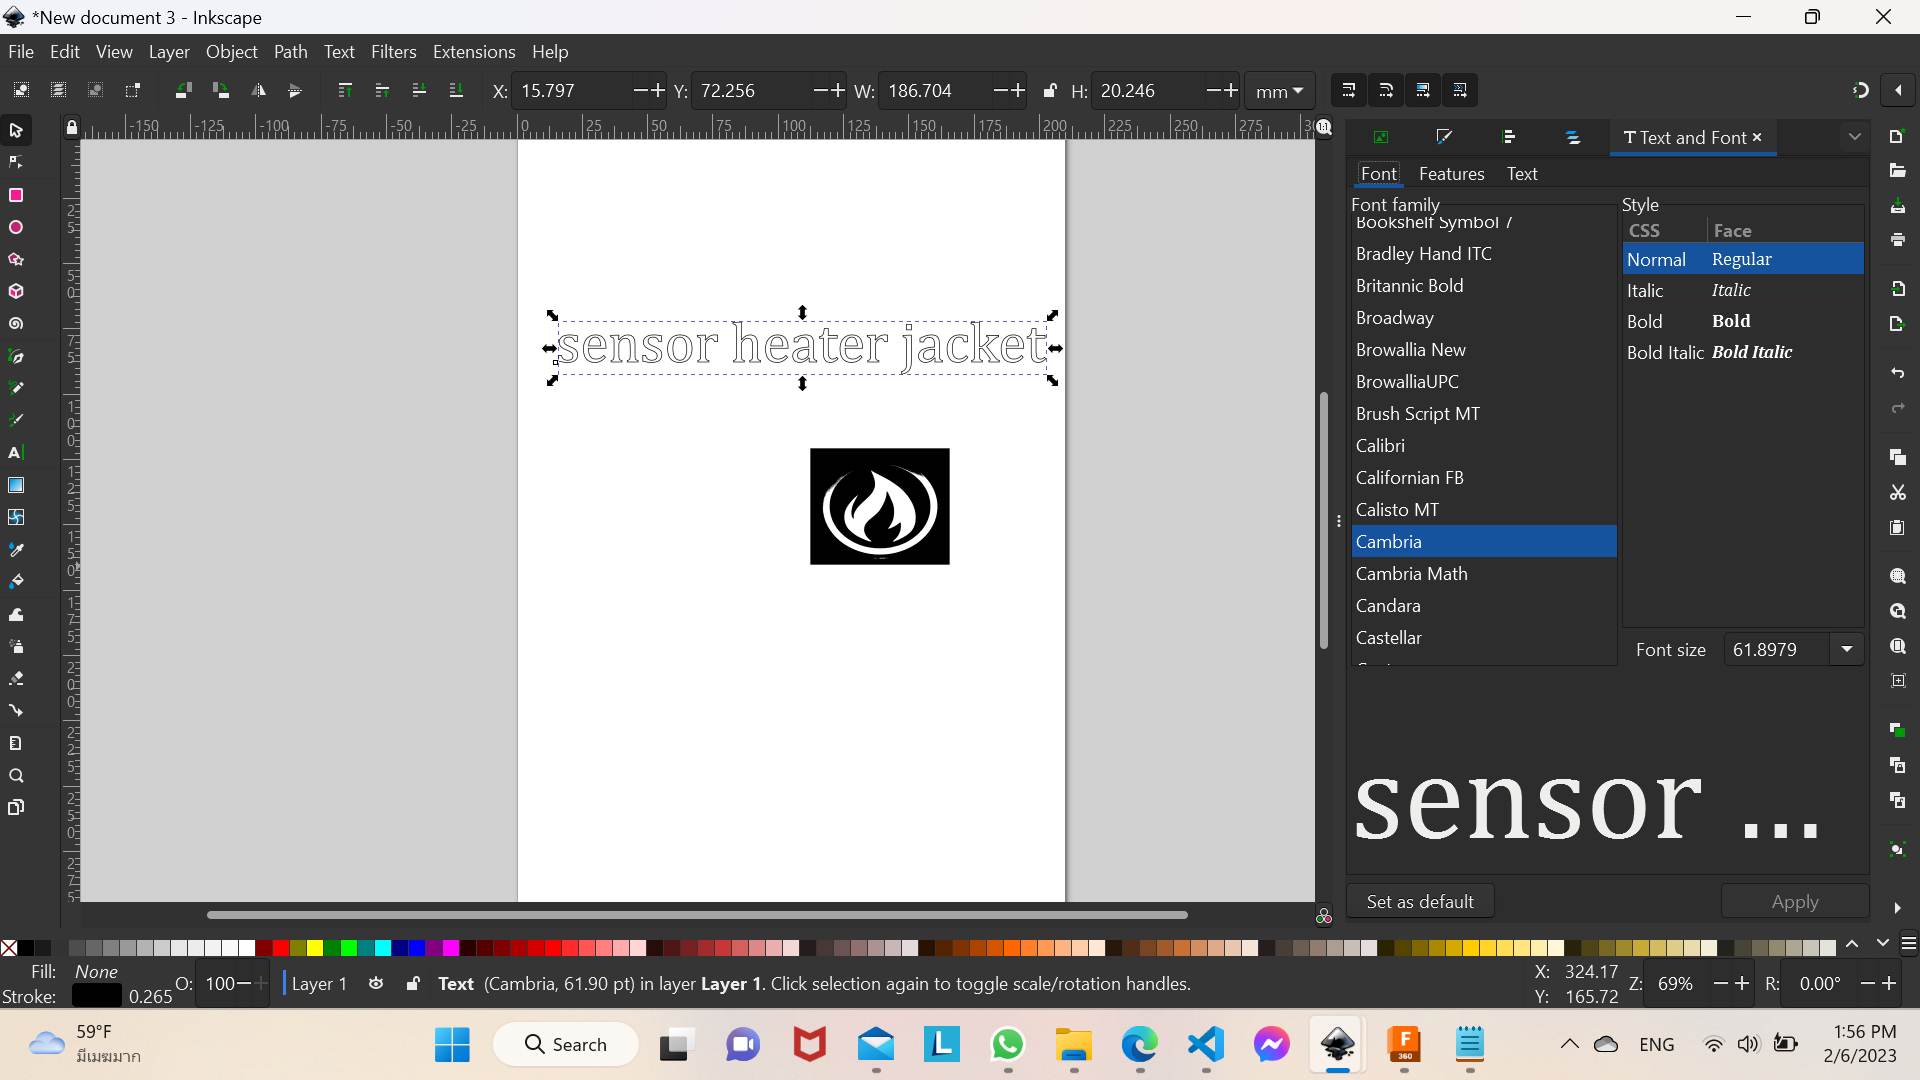
So now you can see one trace map and the original image so just delete the original picture we don't need that one. After that for fonts we can go the font which is on the left side of your desktop or computer.
for my project i just typed " Sensor Heater jacket",you can make it even more fancy or more interesting trying different fonts.So here is my final logo bit simple.
now finally go to file, And Click save as
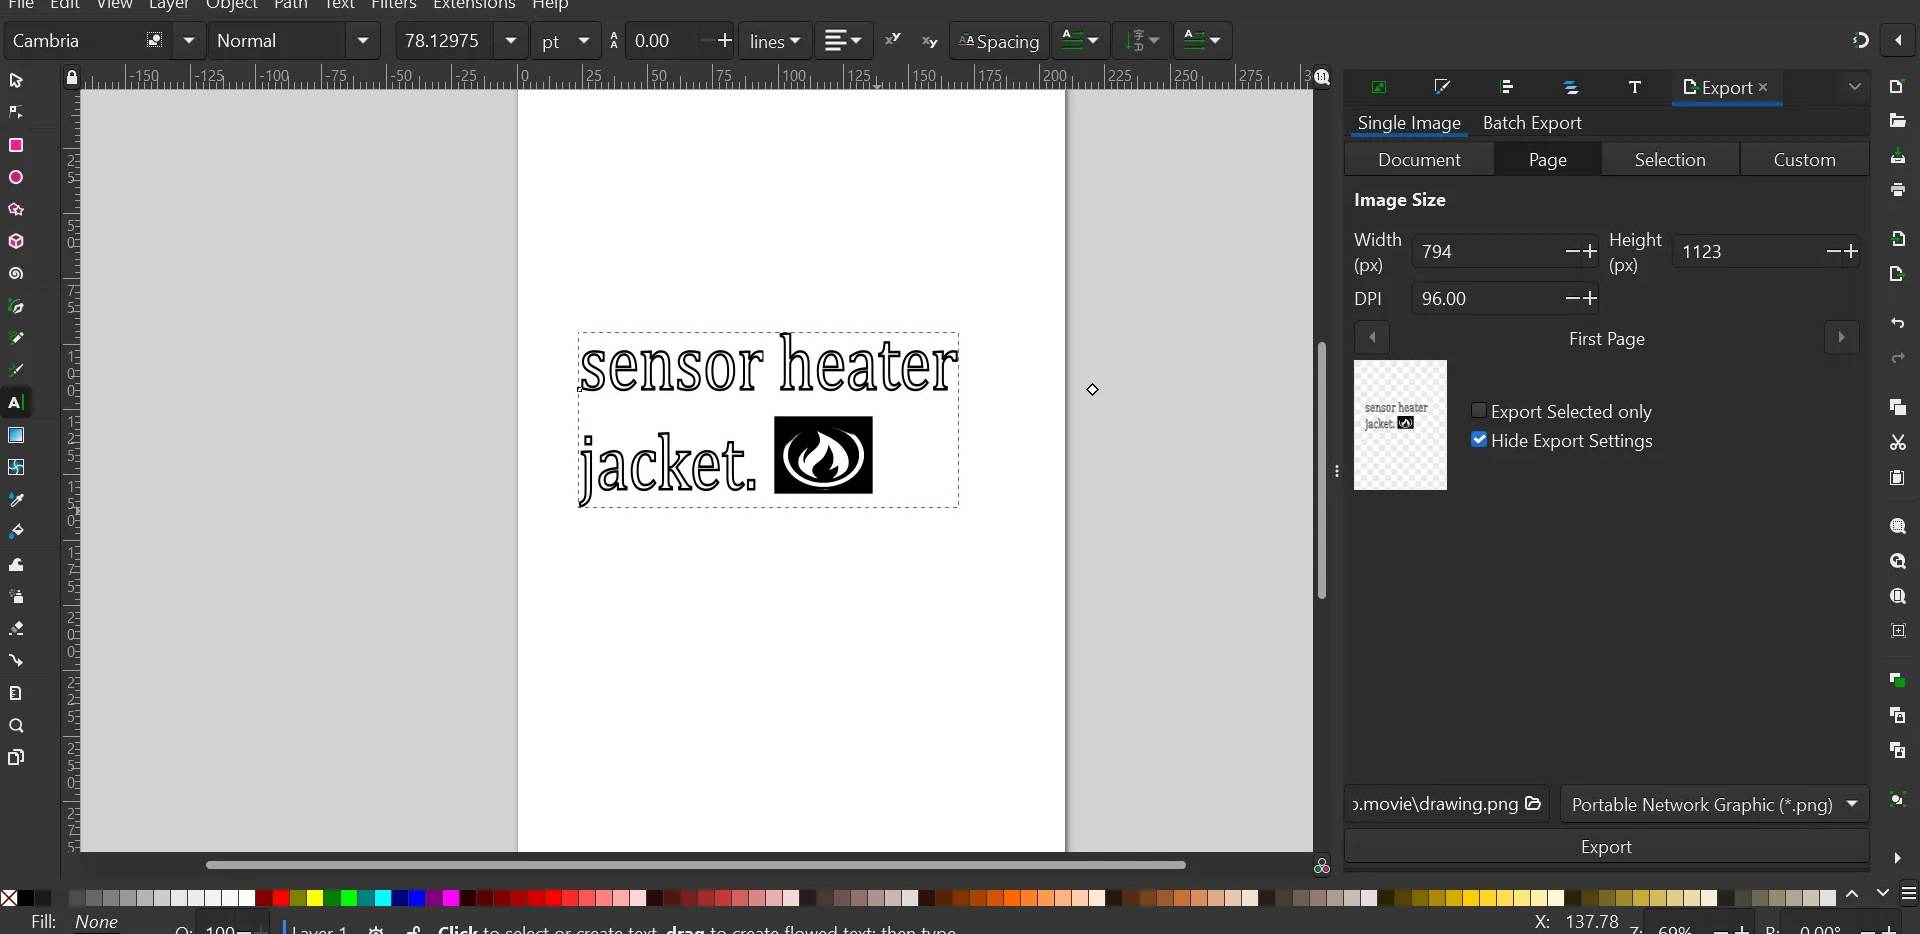
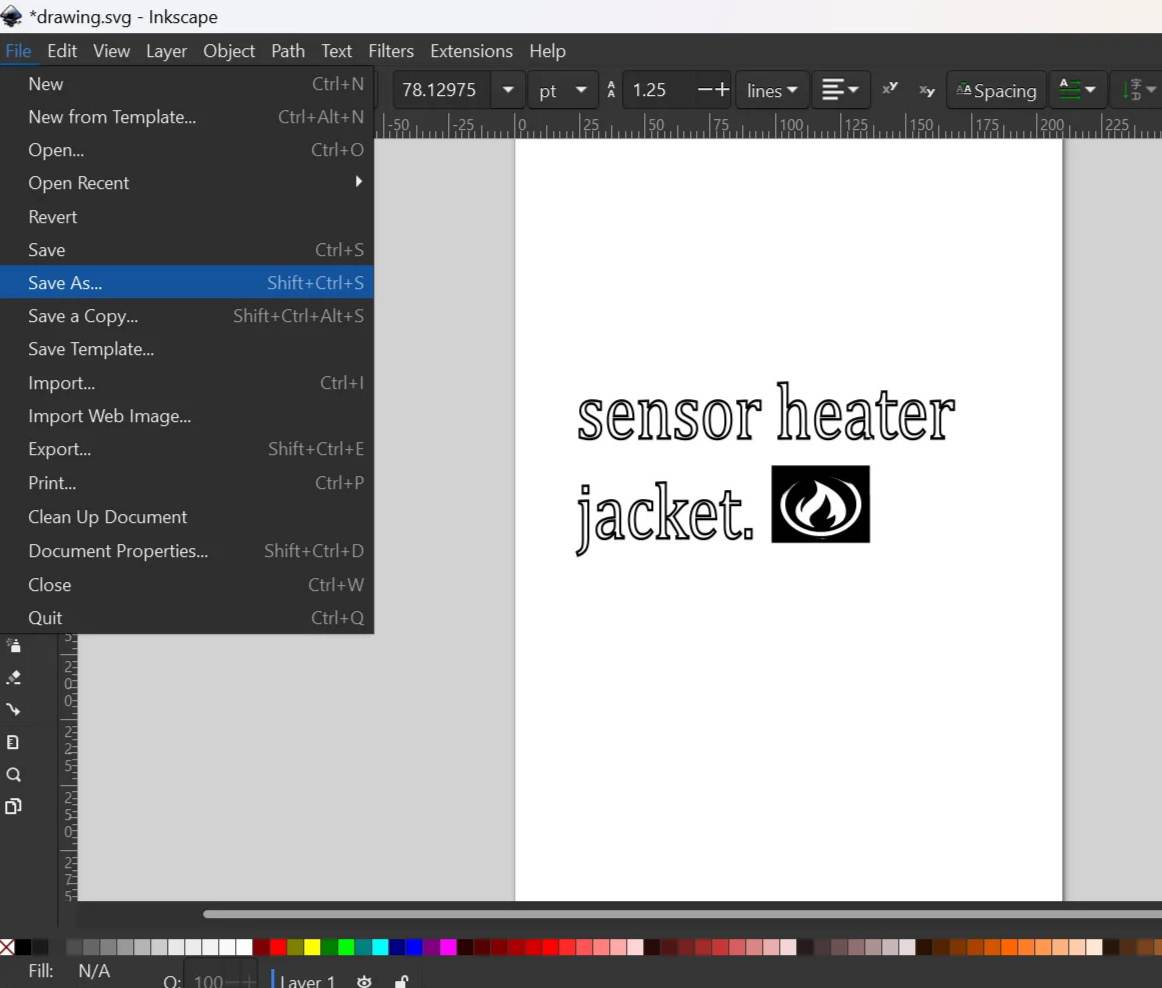
And save in svg file and rename in your desktop.For inkscape i did not have any troubles since i already learned that during my pre fab class so it was much easier for me.
3D Software.
TinkerCad.
So i just designed a simple key hanger that I can put on the jacket chain or on the zip. so here is an example below. so instead of the ribbon i want to add my own design "Heating vest" on the zip or the chain in order to look a little attractive.
Here are the steps to design a simple chain on Tinkercad.
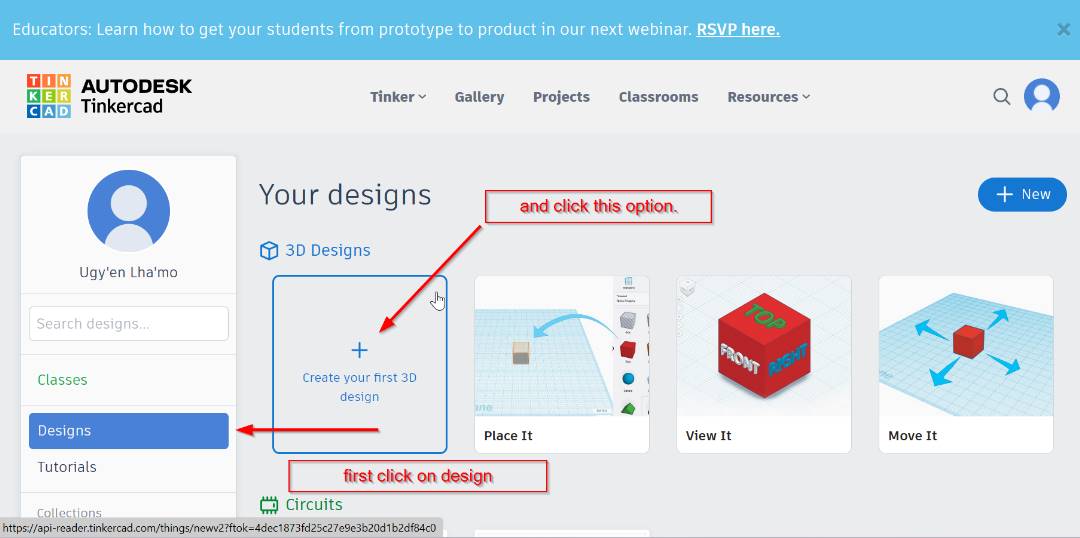
(1)So tinkercad is a free online software where anyone is accessed to it. You just need to create your own account using your google account.
After doing that just click on the create new design and start exploring.
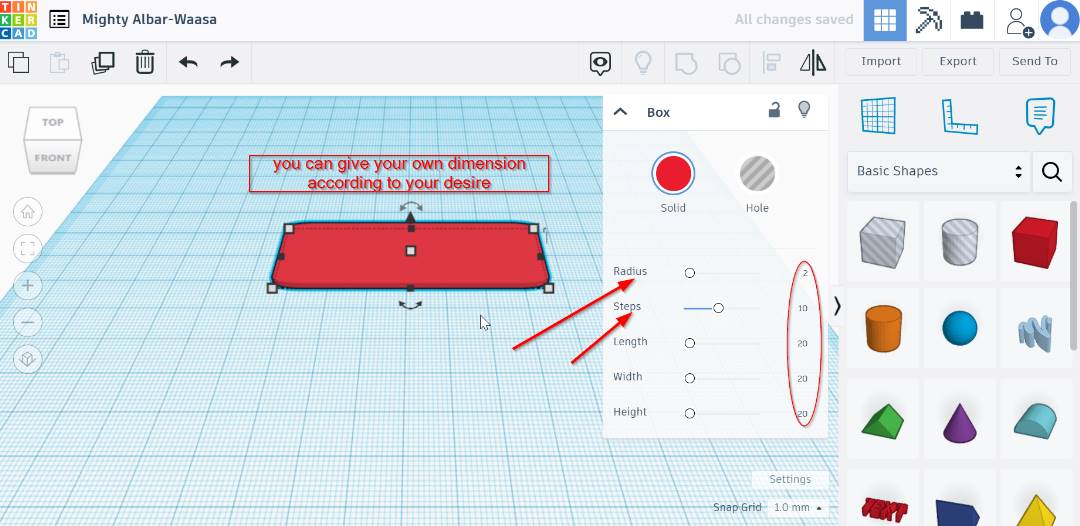
(2) As you can see different types of component on the right side of your desktop, you can simply drag and drop shapes,which ever you like.So for my heating vest I decided to add a hanger on the key or zip to look more attractive. so for me i selected a rectangle and gave the required dimension. and on the right side when you click on the shape you get option to change the dimension and radius as well,you can change from that.
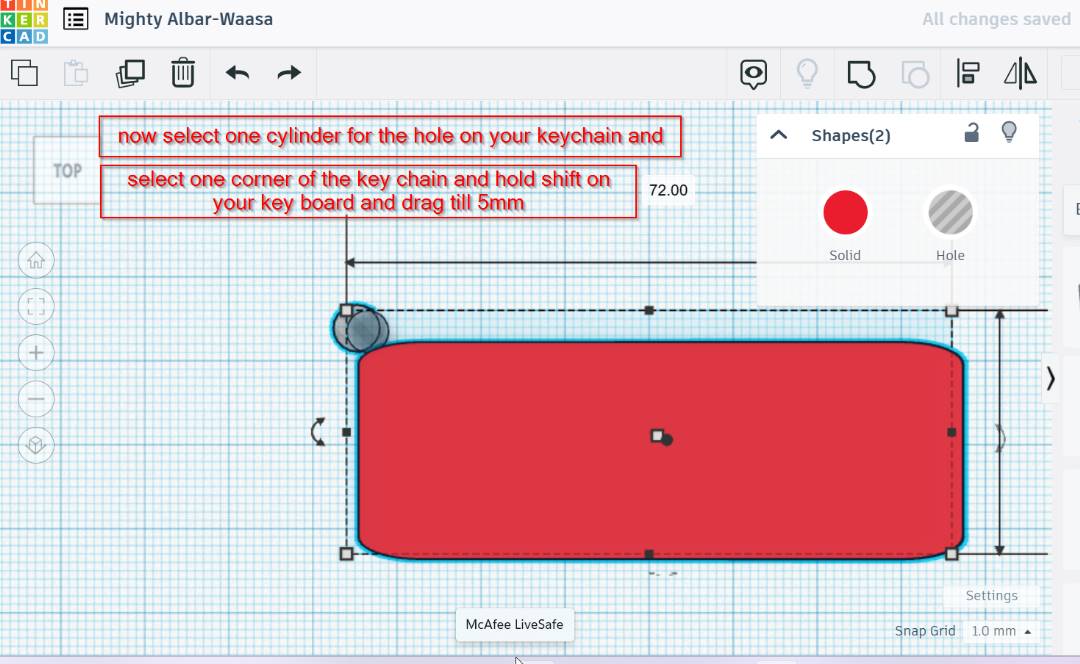
(3)So for the hole in order to put the chain I used one cylinder and gave the required dimension.(2mm) and to add on the hanger select one corner of the cylinder and hold shift on your keyboard and place on the required position. Wherever you like. And dragged till 5mm.
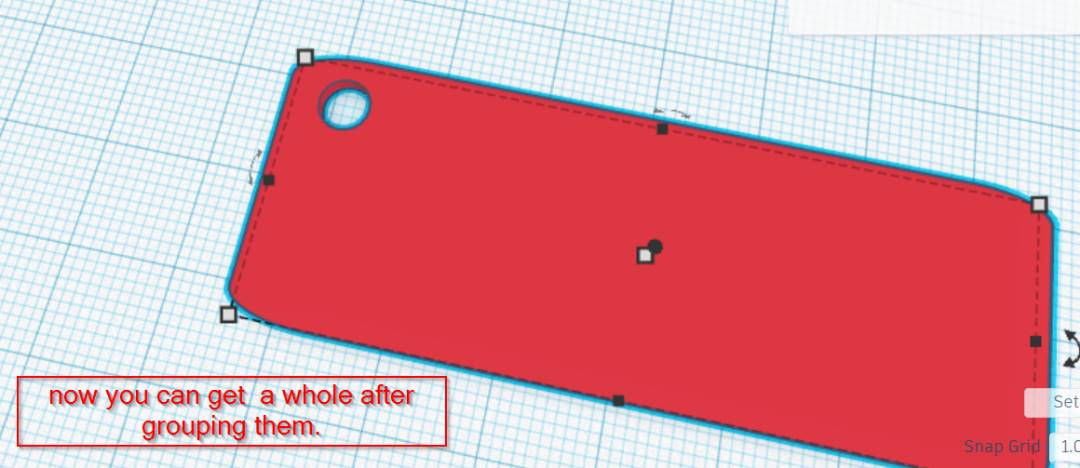
(4) Now to group them just right click on the screen and drag, you can select this way and just click on the group option and you will get like this. The cylinder will penetrate inside and you will get a hole.
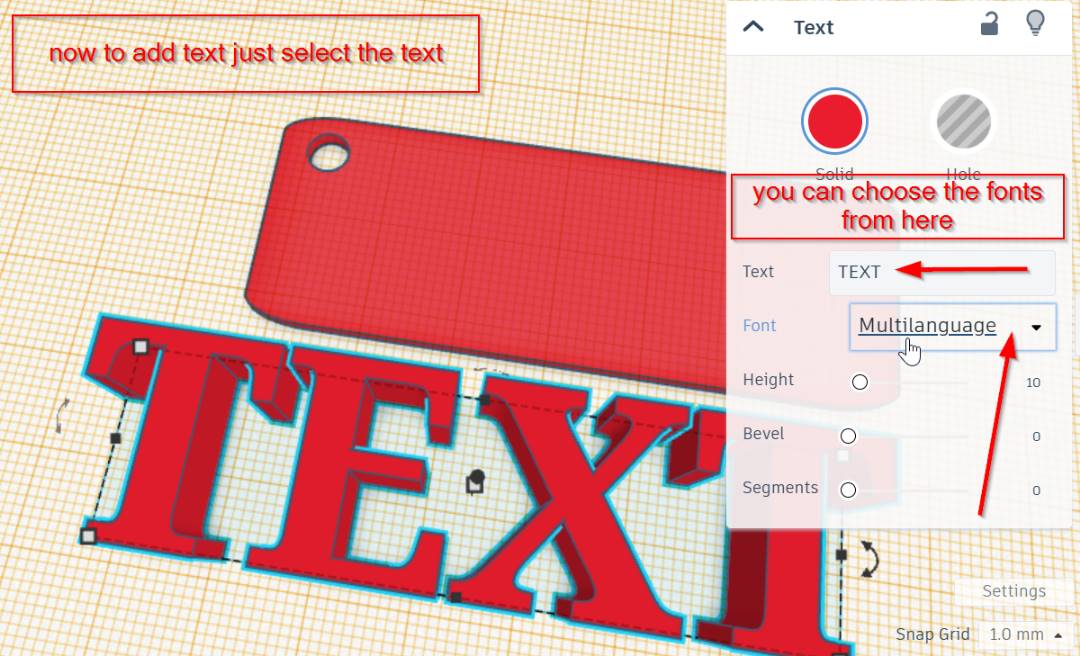
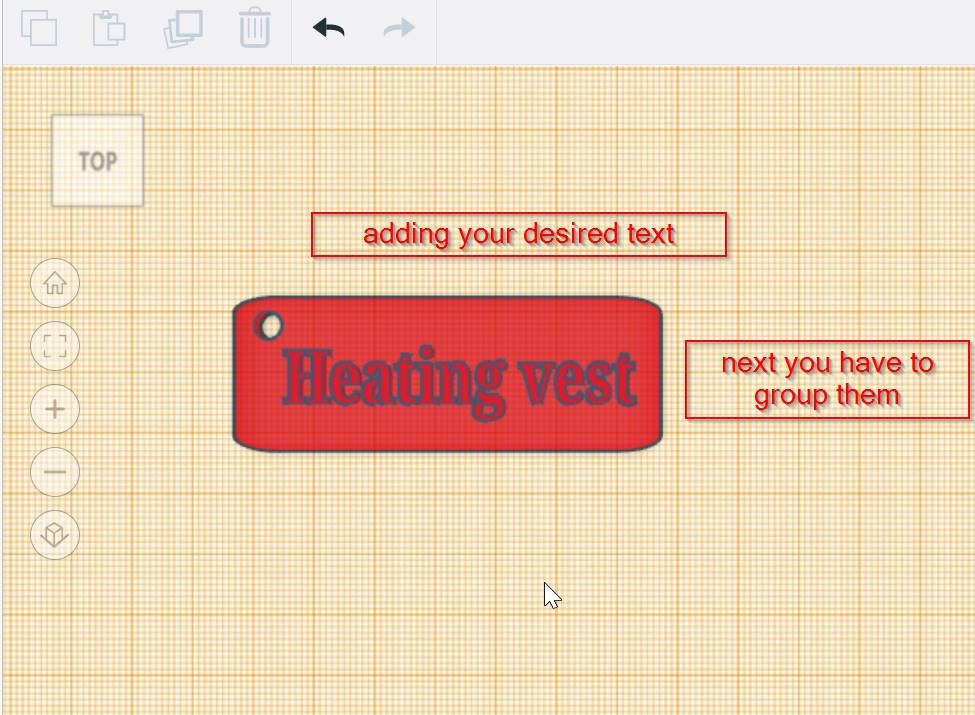
(5)Now time to add text. You can add whatever text you like so for my heating vest I just added for trade mark."Heating Vest" so to add text just select the text component and edit from the options displayed on right side.
(6) Not to forget the dimension, give the dimension and just group the text and the rectangle.
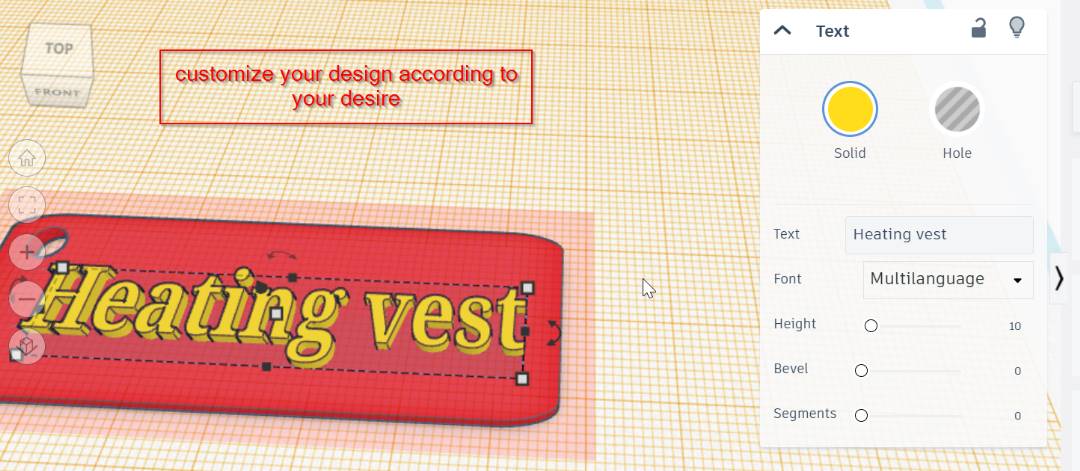
(7) for the text, so for mine i gave 2mm so it can look a little better than just a plain text. i just extruded 2mm upward.
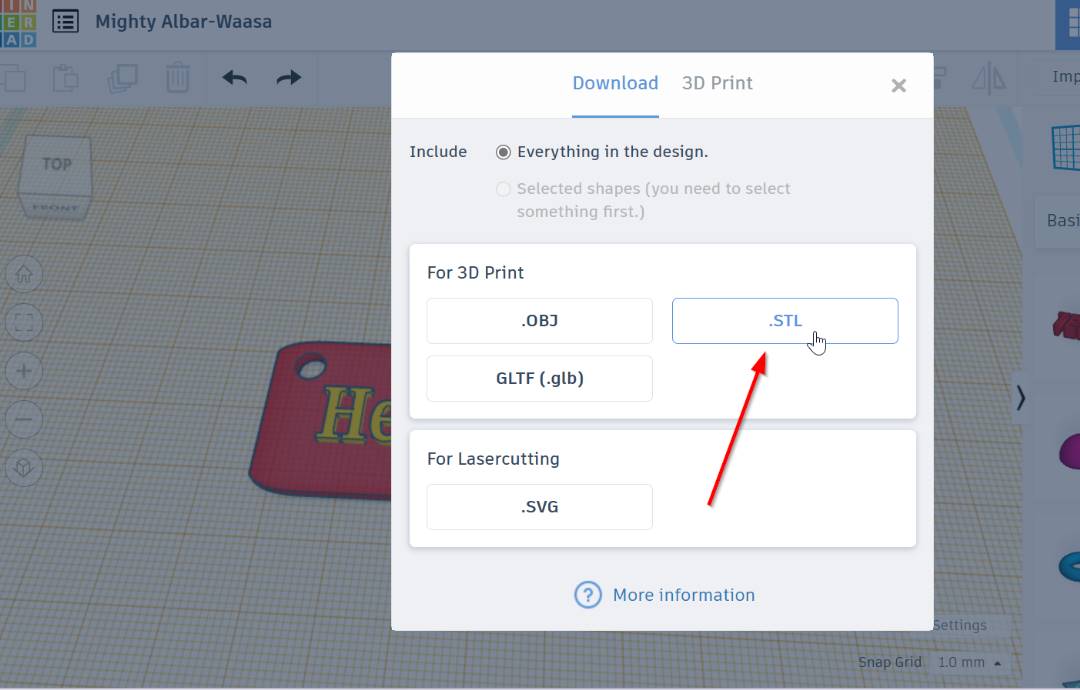
(8) Now the design is ready and you can just export in STL file for 3D printing.And will be downloaded in your desktop.
Fusion360.
Fusion 360 is a commercial computer-aided design(CAD), computer-aided manufacturing (CAM)and also for computer-aided engineering (CAE). Even for printed circuit board (PCB) design software application, which is developed by Autodesk. which is is available for Windows and macOS, with simplified applications available for Android and iOS.
Uses of Fusion360
According to google:Fusion 360 is a great resource which allows users to do everything in one place. With this you can even create 3D designs, collaborate, manage data, create tool paths, and run simulations to validate your designs. Fusion 360 is also the tool of choice for manufacturing, machining, engineering, and industrial design expert. Since my simple box wasn't really qualifying for the assignment so I thought of designing a switch button for the jacket in oder to put on and off, as suggested by my instructor. I decided to design one switch button for 3D printing since for my final project it does not require any leaser cutting, so for components i designed one simple box with a lid and a button for the switch to turn on and off when needed.As you can see below is a youtube video of 3D switch button i designed on fusion 360 with the help of a tutorial video and I uploaded in my youtube channel
Link to tutorial that help me a lot to design the switch button is here.This youtube tutorial is related to my final project so i though of documenting here in my final project.
below here is the 3d printed design of a switch button that took me for 2 hours to print out.